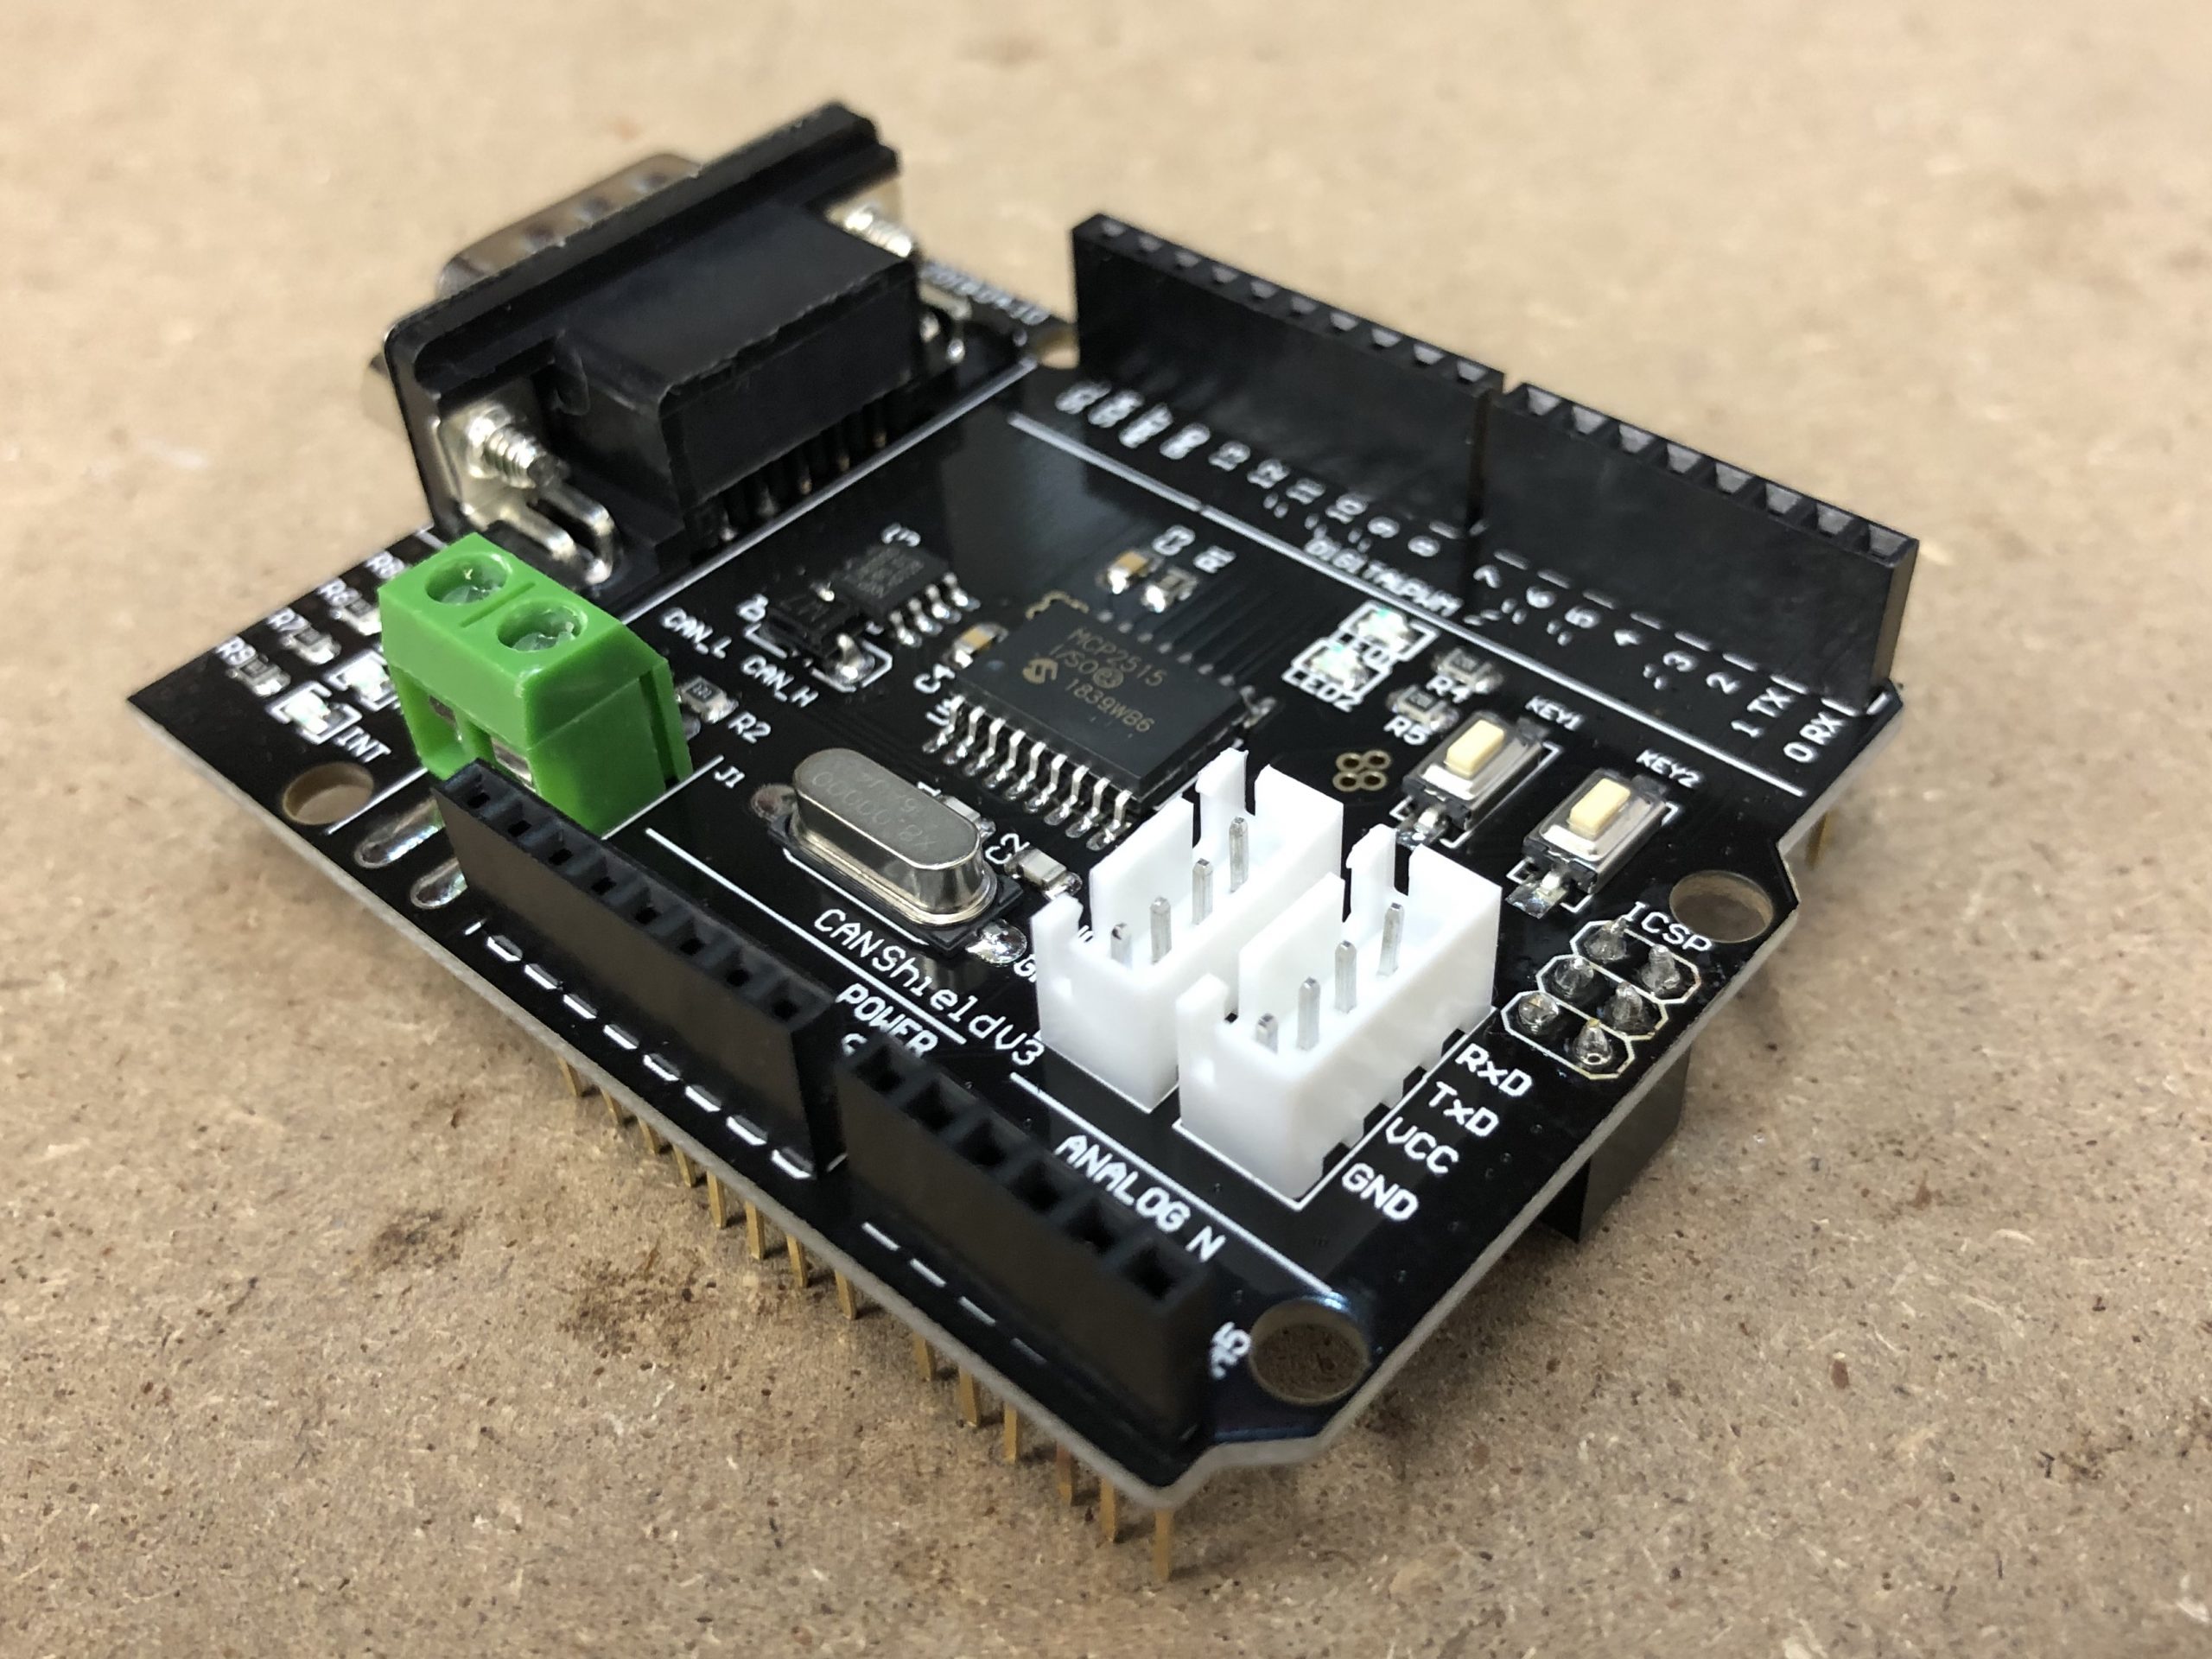
My Isabellenhütte IVT-S current meter only speaks CAN bus. You can speak CAN with an Arduino Uno and a CAN bus shield.
You will need the following
- An Arduino Uno R3 board
- An MCP2515-based Arduino CAN shield
- Two 120 ohm resistors
Here are the steps:
Configure your Arduino IDE
Download and install the Arduino IDE on your computer
Connect your Arduino board with a USB cable
Tools -> Port make sure your Arduino board is selected
File -> Examples -> 01.Basics -> Blink Sketch -> Upload
Hopefully you have a blinking light on your Arduino board. This means your IDE is working.
Configure your CAN bus shield
Disconnect the Arduino board, assemble your CAN shield and fit it to the Arduino
Connect your Arduino board with a USB cable
 Download the CAN library ZIP file from here
Sketch -> Include Library -> Add .ZIP Library… & choose the ZIP file you just downloaded
File -> Examples -> CAN-BUS Shield -> receive_check
Tools -> Serial Monitor change the baud rate to 115200
Sketch -> Upload
Hopefully you will see the following on the Serial Monitor:
Enter setting mode success set rate success!!
Enter Normal Mode Success!!
CAN BUS Shield init ok!
If you see:
Enter setting mode fail
CAN BUS Shield init fail
Init CAN BUS Shield again
try changing SPI_CS_PIN from 9 to 10
Talk to your device over CAN
Now connect and power up your CAN bus device.
 You’ll need a 120 ohm resistor at each end of the bus (making 60 ohms total impedance). Sometimes the termination resistor is built in, sometimes it isn’t. Check it with a multimeter across the CAN bus terminals.
When there is CAN bus traffic, you should see it appear on the serial monitor and the INT light should flash on your CAN bus shield.
 If nothing happens, check your CAN bus speed matches the device you are connected to. For my Isabellenhütte IVT-S, I had to change
 CAN_500KBPS to CAN_1000KBPS to get it to work.
